Introduction#
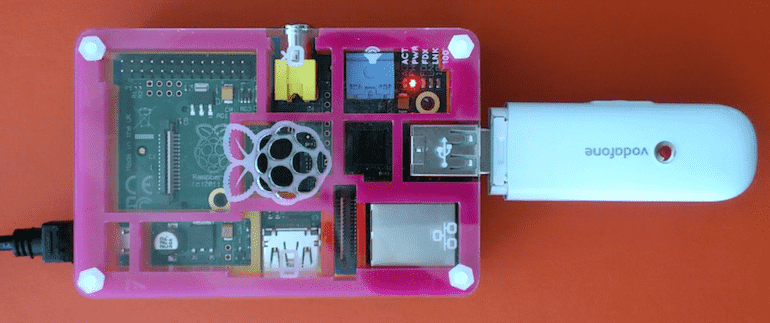
I recently installed chan_dongle on my Asterisk PBX running on a Raspberry Pi. The chan_dongle driver enables Asterisk PBX to use certain Huawei 3G USB dongles as a voice interface for handling voice calls, SMS, and USSD commands. This setup effectively creates a single-channel GSM gateway.
Prerequisites and Setup#
Follow these steps to prepare for chan_dongle installation:
-
Obtain a compatible USB modem: Refer to the list of compatible modems.
-
Check modem status: Use the DC-Unlocker software to verify if the modem supports voice functions and is not locked.
-
Unlock modem (if necessary): Follow the unlock instructions and resources.
-
Firmware upgrade (optional): If DC-Unlocker indicates no voice function or if configuration issues arise, consider upgrading the modem’s firmware.
-
Prepare Raspberry Pi OS: Download Raspberry Asterisk and flash it onto an SD card (minimum 4GB). For macOS, the flashing process is as follows:
# Identify your SD card (e.g., disk1)
mount /dev/disk1
diskutil unmountDisk /dev/disk1
sudo dd if=raspbian_wheezy_20120608.img of=/dev/rdisk1 bs=1m
Installation Steps#
After preparing the SD card and booting the Raspberry Pi:
-
Upgrade the system:
raspbx-upgrade -
Install necessary software packages:
apt-get install usbutils unzip autoconf automake # Compile USB-modeswitch cd /usr/src/ wget http://www.draisberghof.de/usb_modeswitch/usb-modeswitch-1.2.5.tar.bz2 wget http://www.draisberghof.de/usb_modeswitch/usb-modeswitch-data-20121109.tar.bz2 tar -jxvf usb-modeswitch-1.2.5.tar.bz2 tar -jxvf usb-modeswitch-data-20121109.tar.bz2 cd usb-modeswitch-1.2.5 make all make install cd ../usb-modeswitch-data-20121109 make install cd .. -
Connect the Huawei USB stick (if already plugged, eject it first) and verify its detection using
lsusb:lsusb | grep HuaweiThe output should resemble:
Bus 001 Device 005: ID 12d1:140c Huawei Technologies Co., Ltd. -
Switch the USB stick to modem mode. Use the vendor (
v) and product (p) IDs from thelsusboutput. You may need to search online for your specific modem model to find the correct message content (Mflag) forusb_modeswitch.usb_modeswitch -v 0x12d1 -p 0x140c -H -s 5 -M 55534243000000000000000000000011060000000000000000000000000000 -
Download and install chan_dongle:
wget https://github.com/jstasiak/asterisk-chan-dongle/archive/asterisk11.zip unzip asterisk11.zip cd asterisk-chan-dongle-asterisk11/ aclocal autoconf automake -a ./configure make all make install cp etc/dongle.conf /etc/asterisk/ cp etc/extensions.conf /etc/asterisk/extensions-dongle.conf -
Restart Asterisk PBX and check the modem status:
asterisk -rx "core restart now"

# Check devices
asterisk -rx "dongle show devices"
You should see something like this:
# *CLI> dongle show devices
# ID           Group State      RSSI Mode Submode Provider Name  Model      Firmware          IMEI             IMSI             Number
# dongle0      0     Free       2    0    0       Yoigo          E1762      11.126.13.00.00   xxxx yyy  Unknown
# *CLI>
You have now successfully installed and configured chan_dongle. The next step is to configure your new GSM gateway within Asterisk.
I am still experimenting with this setup, but so far, the voice quality has been good, better than my experience with a Portech GSM gateway. The cost per port is also more favorable, and this solution supports sending and receiving SMS and USSD messages.
Good luck!
If you wish to try my pre-configured system, you can download the latest image here. Flashing instructions are standard for Raspberry Pi images: decompress the .gz file, insert the SD card, and use the dd command on Linux. For detailed flashing procedures, refer to resources like this guide on installing Raspbian.